
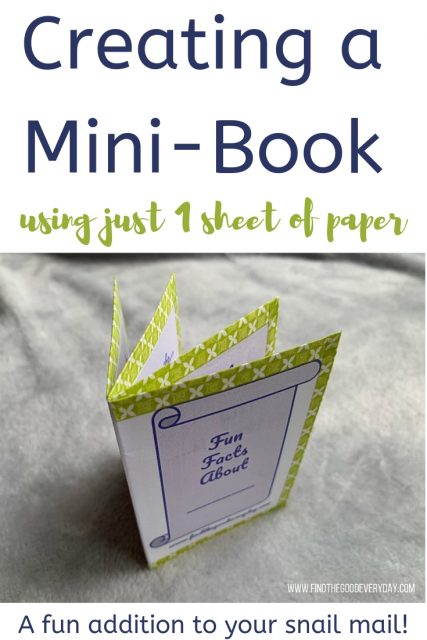
Today I am delighted to be sharing with you a guest post by the lovely Katie, a tutorial on creating a mini-book using 1 sheet of paper. I can see this being great fun to create and add to some fun happy mail. I’ll hand straight over to Katie to tell you more….
Hello! My name is Katie. Today I am pleased to be visiting The Reading Residence to share a tutorial for creating a mini-book from 1 sheet of paper. This is a great project for penpalling.
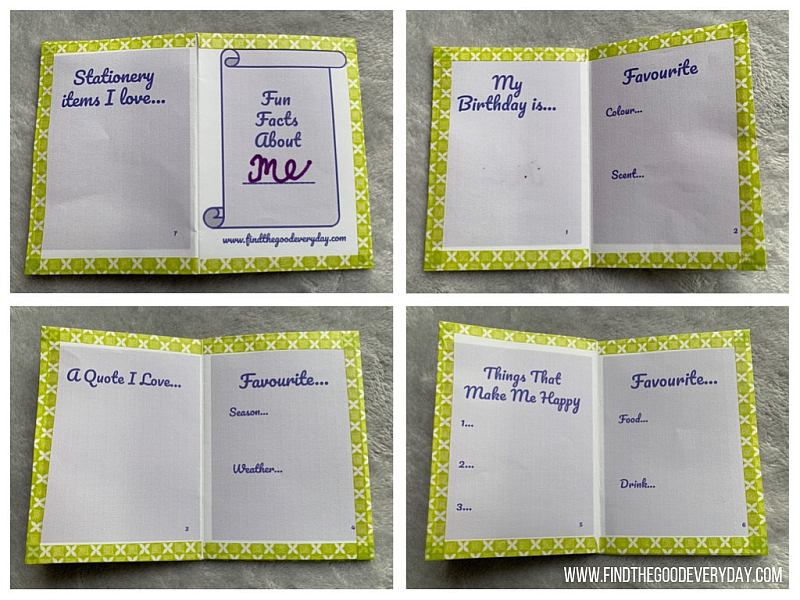
This is an example of what you can make…
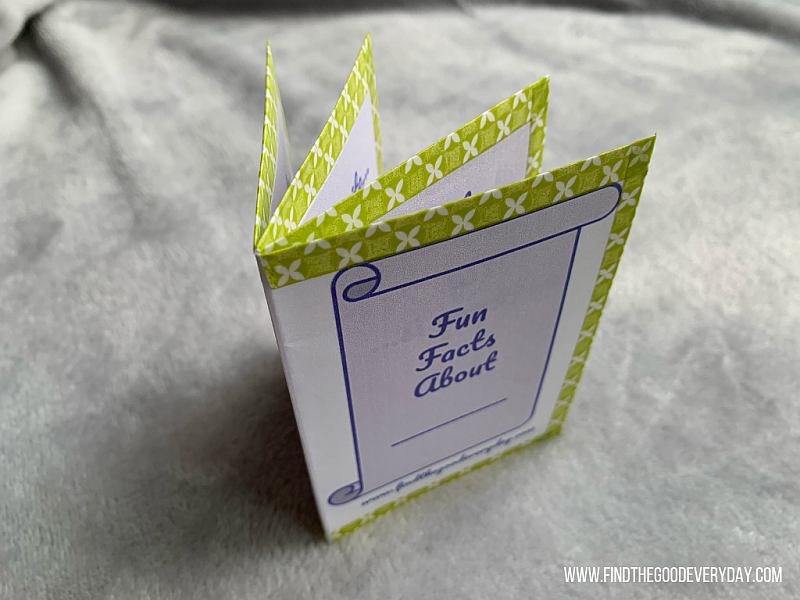
It’s a mini-book for you to fill in and share with your penpal…or send them a blank one to complete and return to you. You can download the Penpal A4 Booklet here to try it out.
Creating a Mini-Book
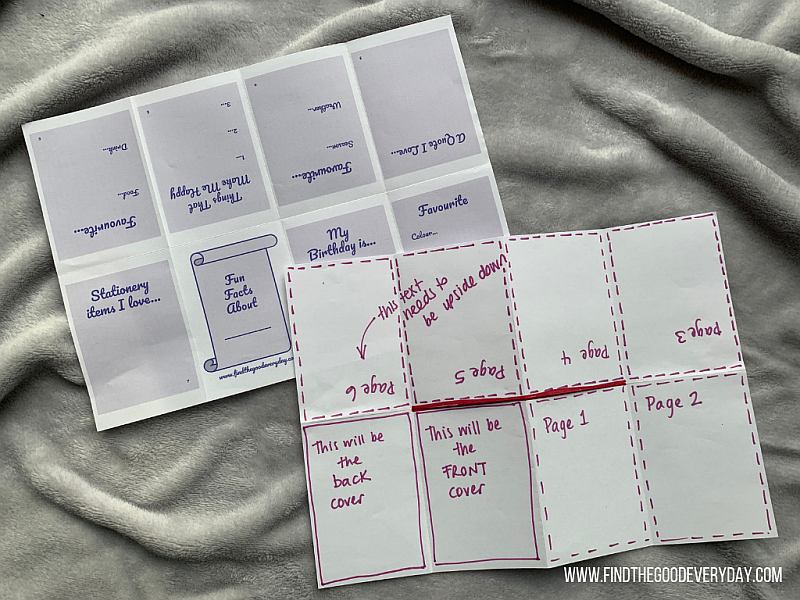
The mini-book design can be created on the computer or by hand.
If you are creating the design by hand it’s probably easier to fold and cut the mini-book first and then decorate the pages.
Here is a handy guide for how you need to set up the document to create the mini-book:
Mini-Book Instructions
Once you’ve got your template set out you can fold and cut it to turn it into the mini-book.
To begin with you need to fold the paper in various ways to make your mini-book pages.

1 – Lay your paper out flat
2 – Fold the sheet in half longways.
3 – Unfold and fold in half the other way (to make it A5 size).
4 – Unfold it again and then fold in the short edges to the middle line (like a gate fold).
You should end up with 8 folded sections (which become the pages of your mini-book).
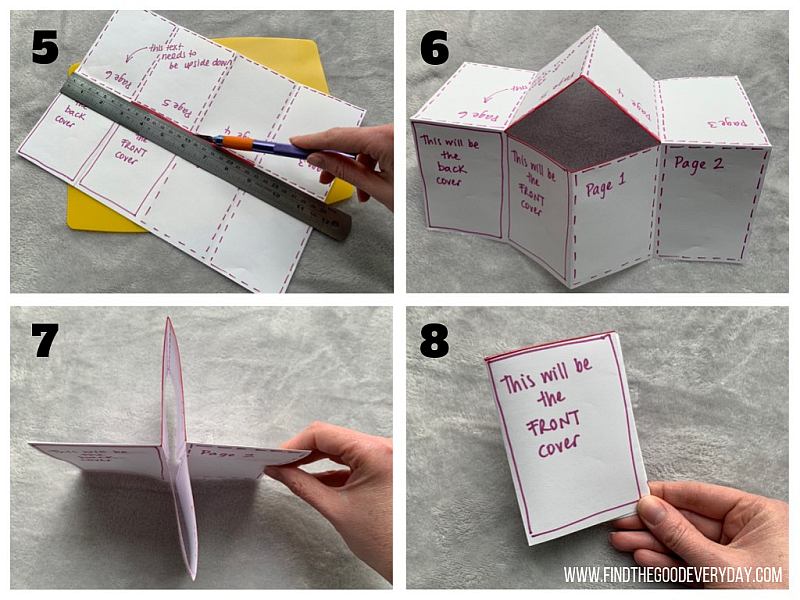
5 – Next you need to cut a line in between the middle 4 boxes (see the red line in the photos). I used a craft knife and ruler. (You can also use a sharp kitchen knife.)
6/7 – With the cut in the middle you should be able to fold the outer edges (page 2 & 3 and page 6 & the back cover) together and push the paper inwards into a “plus” shape.
8 – Then find the front and back covers and fold the mini-book so the covers are on the outside. You may need to tidy up the folds once you have the booklet shape.
To finish off my printed version I used washi tape around the page edges.
Here’s a look at all of the pages…
The mini-book can be used for all sorts of projects. I hope you have fun giving it a go!
About Me
My name is Katie. I’m a member of Jocelyn’s Bring Back Paper group and enjoy taking part in her swaps. I’ve also found some lovely penpals through the group.
I blog over at www.findthegoodeveryday.com all about ways to feel happier and healthier. During April I’m sharing daily activities and prompts to ‘Find the Good in 30 Days’. You can join in, for free, whenever you like. Find out more on my blog and Instagram.
And Thank you Jocelyn for welcoming me to The Reading Residence to share this tutorial.
Thank you, Katie! I love this, all so easy to follow and lots of fun.
Could this be something for you to try?
You might also enjoy How to Make a Pocket Letter and A Beginner’s Snail Mail Station.
If you’re new to Bring Back Paper, you can find out more about it all here. You can join our Facebook group here and you can sign up to join my mailing list below, for all the latest news, updates, ideas and activities.
I just started writing to penpals last month and I made one of these for each. Really easy and cute!
Ah, I am so pleased you tried it and liked it! Happy writing!
Love Love Love this!! Can you please share how to set up the pages to make a printable booklet? Thank you!
I found it.. thank you!
Enjoy!