
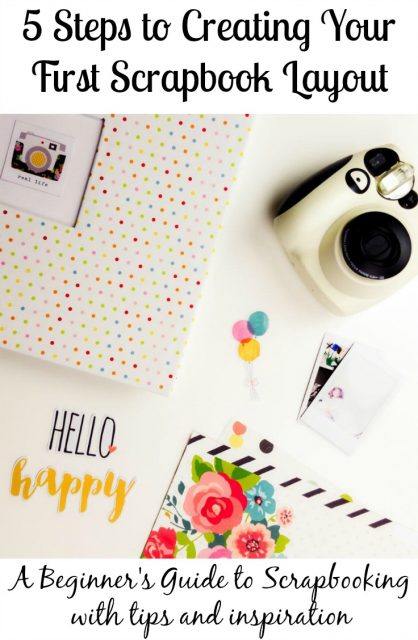
Hi everyone, it’s Vickie here. I blog over at A Pocketful Of Dandelions where, amongst other things, I chat about my passion for scrapbooking. Jocelyn has very kindly invited me over to her blog today to talk you through the five steps that will help you to create your first scrapbook layout.
You don’t need to know your gesso from your grosgrain to be a scrapbooker and you don’t need to be particularly artistic either. If you can glue two pieces of paper together then you can scrapbook. It really is that simple.
So without further ado let’s get started.

1. Print your photos
This might seem like an obvious step but most of us are guilty of taking hundreds, if not thousands, of photos and never printing them. Memories of trips to the seaside and first birthday parties languish on SD cards or cloud storage and are destined never to see the light of day. Scrapbooking is a great reason to start printing those photos. Those memories. The photos don’t have to be perfect they just need to mean something to you and the story that you want to tell.
Speaking of stories, most scrapbookers make albums based on a theme such as a trip to Disney World or their child’s first year. The possibilities are endless.
Once you’ve decided on your theme it’s time to start printing your photos. If you have a photo printer at home that’s great but if not there are plenty of online printing companies that you can upload your photos to, as well as high street stores that will print photos from a disk or an SD card.
If you are planning on using old family photos in your scrapbook layouts then have copies made if the negatives are available or have them scanned and reprinted. Accidents happen, says she who once spilt a pint of lemonade on a layout. You wouldn’t want to ruin the only copy of a precious photo.
2. Gather your supplies
When you start a new hobby like scrapbooking it can be tempting to go on a spending spree in the aisles of Hobbycraft, buying anything and everything that catches your eye. I know that it’s all very exciting but really you don’t need a tonne of supplies to start scrapbooking. In fact having too many pretty things to choose from can stifle your creativity so try to resist the urge if you can.
In the beginning you really only need scrapbook paper and a few coordinating embellishments, adhesive, a pair of scissors, a pen and somewhere to store your finished layouts. If you’ve participated in any of Jocelyn’s Stationery Swaps then chances are you already have some lovely bits and pieces that would work on a scrapbook layout.
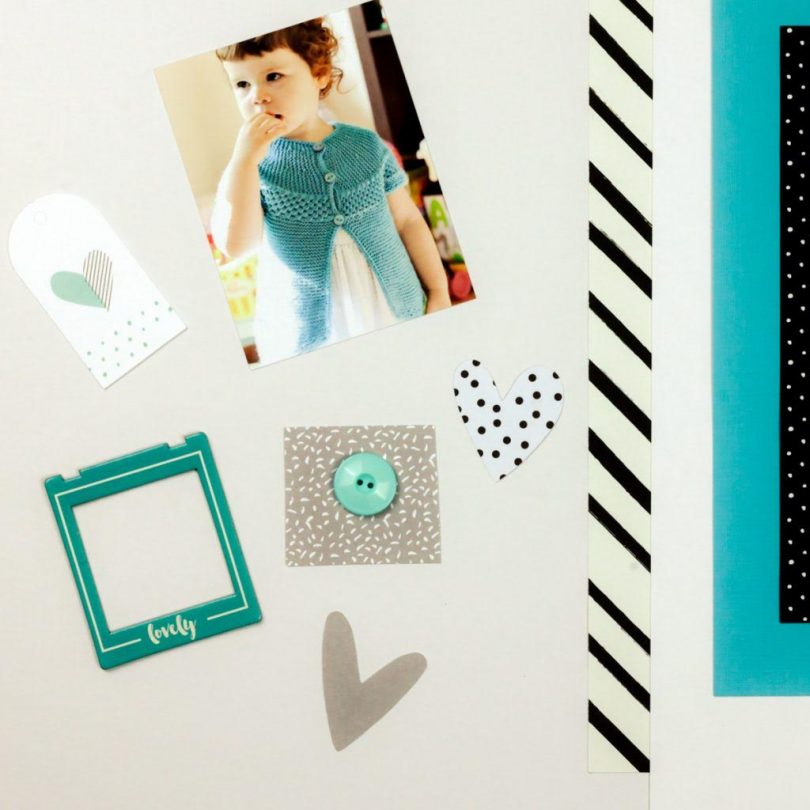
Scrapbook paper
Whilst it’s possible to create a scrapbook page using ordinary paper it is worthwhile investing in paper designed specifically for scrapbooking. This type of paper is of a heavier weight than ordinary paper and the added thickness helps to support the weight of the elements you’ll be adding to your page. Scrapbook paper is also what’s known as ‘archival quality’ meaning that it won’t fade or deteriorate over time like ordinary paper. Your pages will look as bright and vibrant ten years from now as they do today.
When choosing papers for your layout take a look at the photo you’ll be using and try to pick papers that compliment the colours in it. You’ll need one piece of paper for a background and one or two others that you can cut down and use as layers or accents. Using a piece of plain white cardstock as your background is great go-to if your photo is a bit busy.
Embellishments

I’m a bit of a magpie at heart so for me choosing the embellishments is the best part of beginning a layout. Embellishments come in many forms, there are stickers, die cut shapes, buttons and much more besides. It can be quite overwhelming when faced with rows and rows of shiny, pretty things and you don’t know what will work with the papers you’ve selected. Here’s where the scrapbooking brands come to our rescue. Papers and embellishments from a single collection are designed to be used together so if you’re not sure what works with what stick to one collection until you feel a bit more confident.
Storage
You don’t have to buy a scrapbook album straight away. If you have a large enough box to hand, such as a clean pizza box, you can store your layouts there until you have enough to fill an album.
3. Putting it all together
So you’ve gathered your supplies and printed your photos, now it’s time to put your layout together. Just grab your photo, paper and embellishments and start sticking. You really can’t go wrong but if you’re still unsure then you might find it easier to follow a sketch.
Sketches are like blueprints for scrapbookers. They give you the directions for creating a well-balanced layout so there’s no worrying about where to cluster embellishments or where to place your title and journalling. They take the fiddly bit out of the process and for that reason alone I love using them. I’ve listed a few of my favourite sketch sites below.
My Scraps & More
Page Maps
Sketchabilities
Stuck?! Sketches
4. Tell the story

Now I’ll admit that this step falls into the category of do what I say, not what I do as I have a bad habit of not journalling on my layouts. But I know that I love looking at the few cards and scraps of paper I have that have my mum’s handwriting on them, so I do try to journal as often as I can in hopes that my daughter will treasure those layouts when I’m long gone.

If you’re afraid of ruining your layout by making a spelling mistake then you can write on a separate piece of card and stick it to your layout, as I’ve done on mine, or write on the back of your layout instead.
5. Have fun!
Everyone who scrapbooks was a beginner once too and no one comes into it knowing exactly what they’re doing. There is no right or wrong way to scrapbook there is just your way. The aim is to enjoy yourself and to create a keepsake that you and your family will treasure forever.
I hope that this post has given you the confidence to start scrapping. If you have any questions please leave a comment and I’ll do my best to help.
You can also find me on Instagram and Twitter and I have a YouTube channel where I share my creative processes.
Thank you so much, Vickie! What a fabulous beginner’s guide to get us all scrapbooking, and it all looks so utterly beautiful, too! Fancy a go yourself? Pin me for later and get shopping for pretty things!
Thank you again for the opportunity to guest today. Vx
So lovely to have you! Fab post, thanks for sharing it with us x
Love this idea!!
I have so many photos I need to print out!! Where to start??
Great tips – this is my mission x
Yay, do it! Nice to have a project 🙂 x
Fab tips! I have been thinking about scrap booking all the photos we get took in theme parks! x
Yes, do it! It’ll be lovely to look back on x
That’s a great idea for an album!
What a great post! I gave up scrapbooking a while ago. I’m inspired! Stopping by to let you know you are being featured on Friday’s P3 Party post! Have a great week! Thanks for pinning!
Best,
Kim
Thanks very much, Kim!